
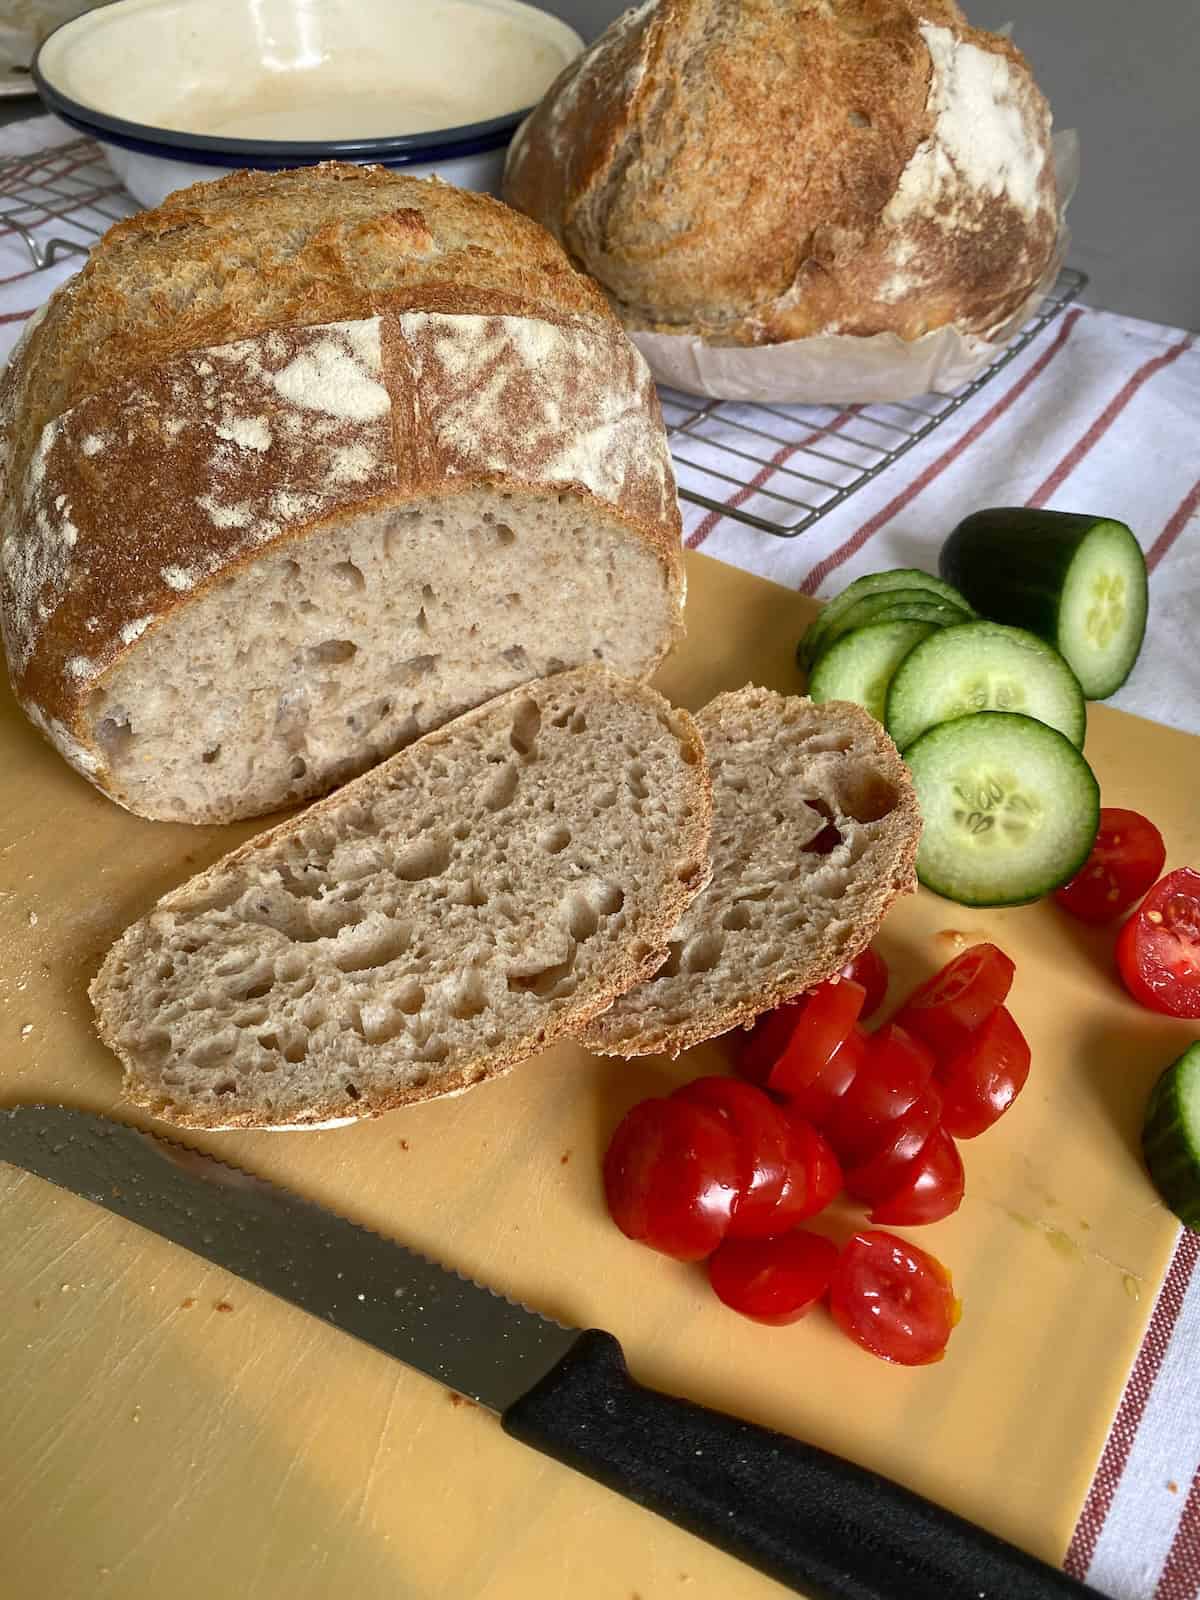
Learning how to make your sourdough bread rise during baking can be tricky for many of us. It was for me when I first started. Now I use pie tins to stop the dough from spreading.
If you’ve been making sourdough bread for a while, as I had, you practice and practice until you discover what works for you. It’s the same for me. I enjoyed making sourdough every few weeks (something I need to get back into), so I thought I would share a few tips that make baking a loaf a little easier. It’s what works for me. I hope it works for you.
- Using mixing bowls as an alternative to Bannetons
- Lining the bowls and Bannetons with muslin to keep them clean while the dough is rising.
- Use pie tins to avoid baking a frisbee.
I was first introduced to Sourdough making during a course at Bettys cookery school over 10 years ago. Then, some years later, I went to Sarah Lemanski’s (Bake Sense) Nova Bakehouse Dock Street in Leeds to learn a little more.
During the lockdown years, I started following Elaine Boddy, sadly here on Substack, but she has a large following on her Facebook Group Sourdough with FoodBod, and bought her first book, ‘Whole Grain Sourdough at Home’. Her Master Sourdough recipe on page 36 is the one I make the most. I doubled the quantities to make two loaves. One of which can be frozen.
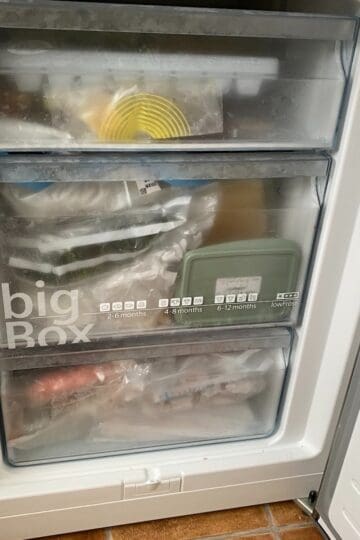
- Tip: Slice the bread before freezing it, so you can take out only what you need, and not have to wait for the whole loaf to thaw out first.
I had my original starter for several years, and in that time, I had gotten to know how it behaves. Even when there was only a residual amount of starter left in the jar, it still managed to come back to life once it was fed again.
Refreshing a Starter
There would be times when I left my starter in the fridge for weeks, even months, before I used it again. By then, it had often developed a dark hooch on the top, which I poured away before feeding it with a 1 - 1 ratio of strong white flour and tepid tap water—in this case, 30 grams of flour and 30 grams/ml of water.
I'd give it a good mix, leave it on my countertop, and wait for it to reactivate. How long it’s been languishing in the fridge determines how often I feed it to get it going again. More often than not, I only need to feed it twice in 48 hours before it’s ready to use.
The heat of your kitchen will also determine how quickly a starter reactivates.
Some people give their starter a name, but I haven’t. Does your starter have a name? Leave a comment and let me know.
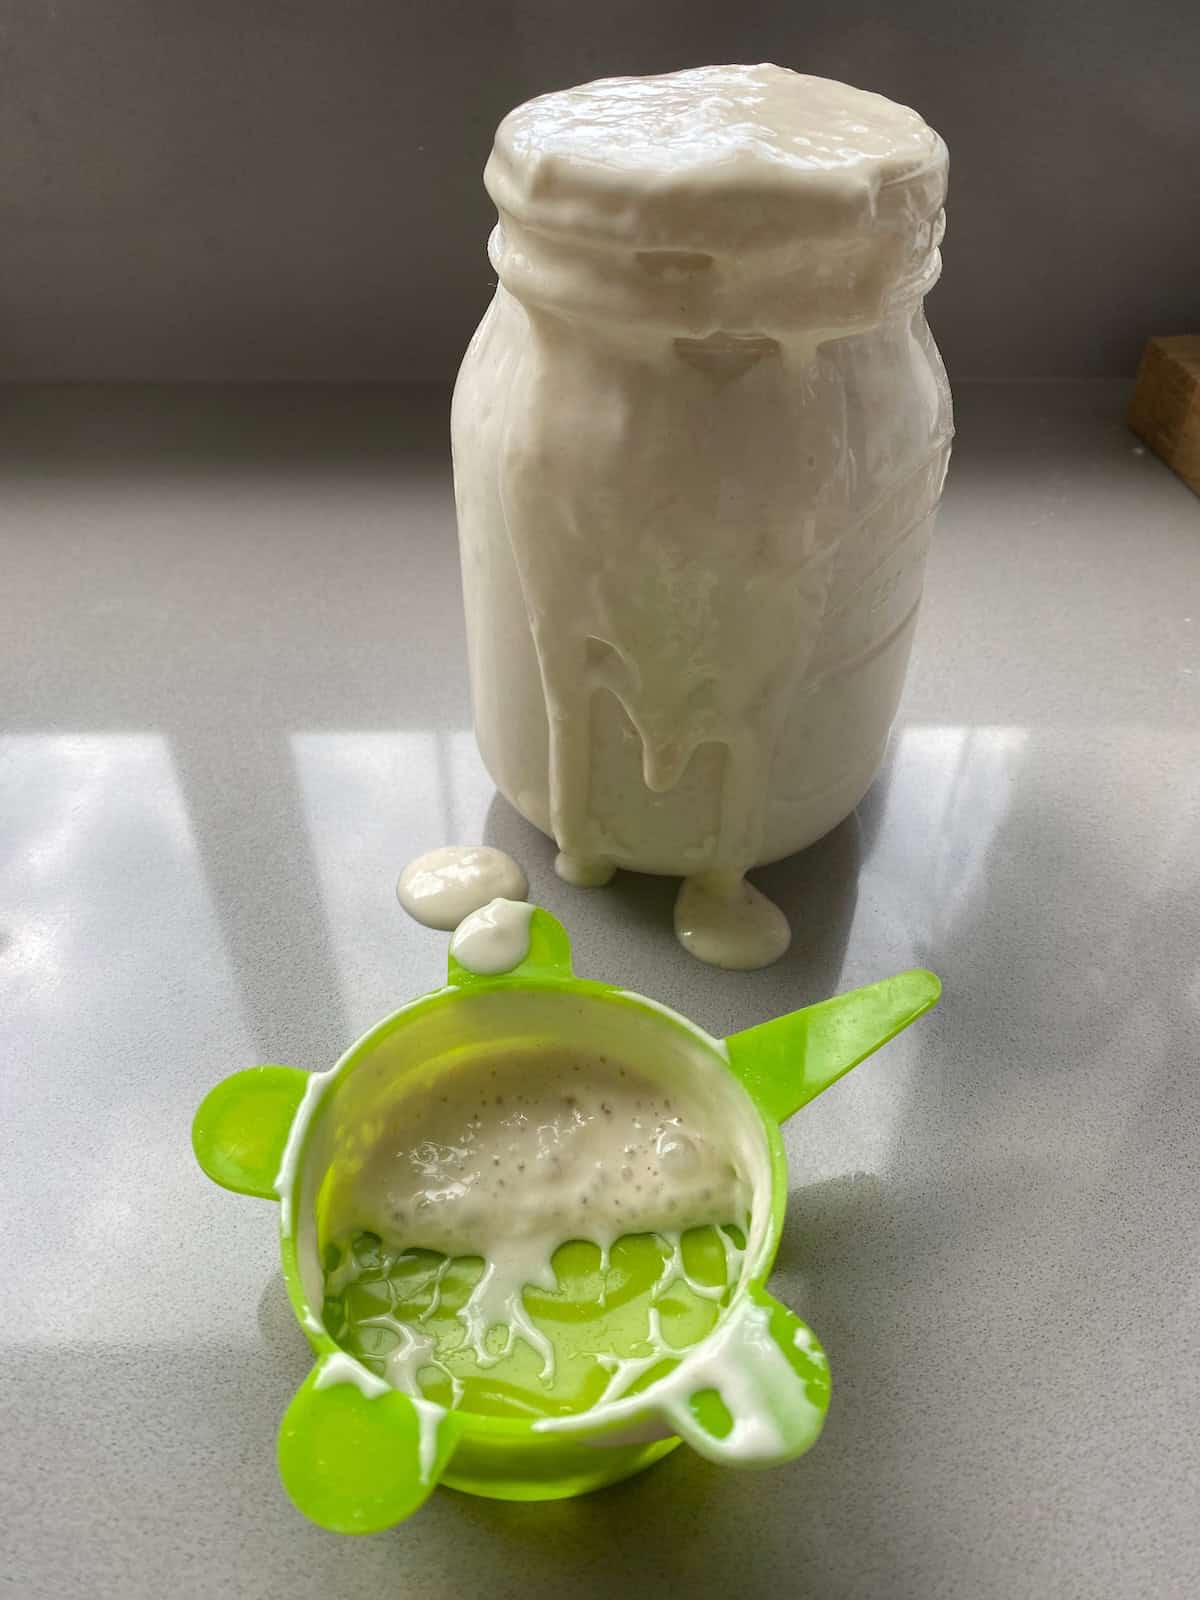
I'd always kept my starter in a glass jar with a soft top, allowing for any excessive growth as it came back to life. On this particular occasion, it was about half full when I fed it, with equal parts flour and water, so I left it to one side. After a couple of hours, the soft lid popped as it began to ooze over the side like lava.
It was ready to be used.
Alternatives to Bennetons
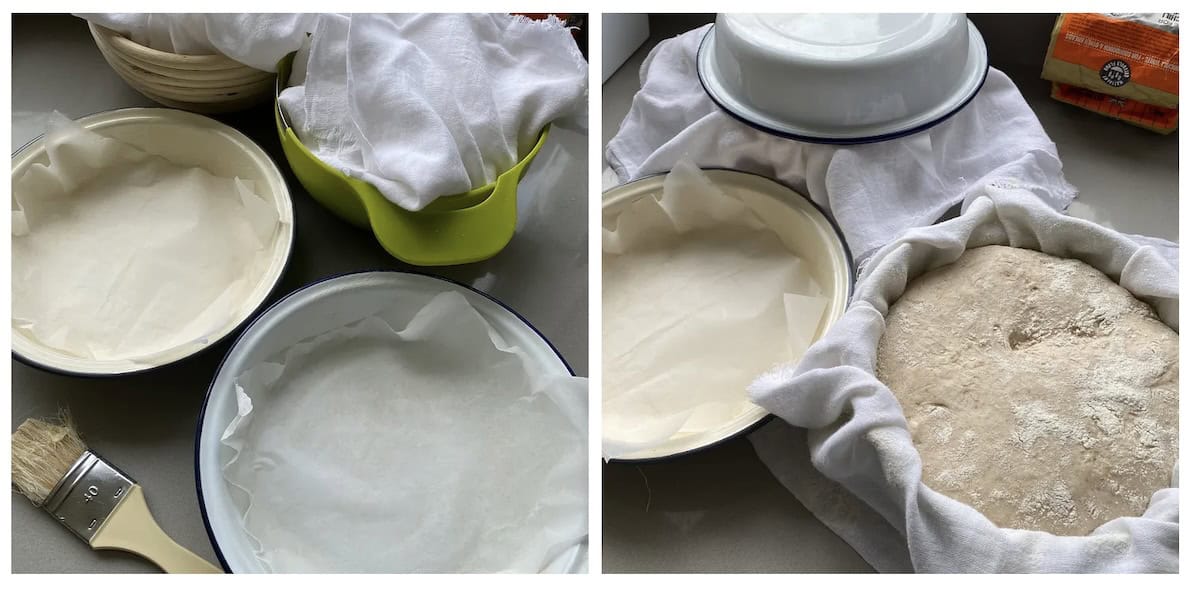
Bannetons can be expensive, which is why I only have one of them. However, a small mixing bowl can be used. I cover both a Banneton and a small mixing bowl with a double layer of muslin cloth.
The muslin will protect the Banneton ridges, as it helps prevent flour from remaining in the crevices. If there are any flour remnants, I brush them out with a firm pastry brush.
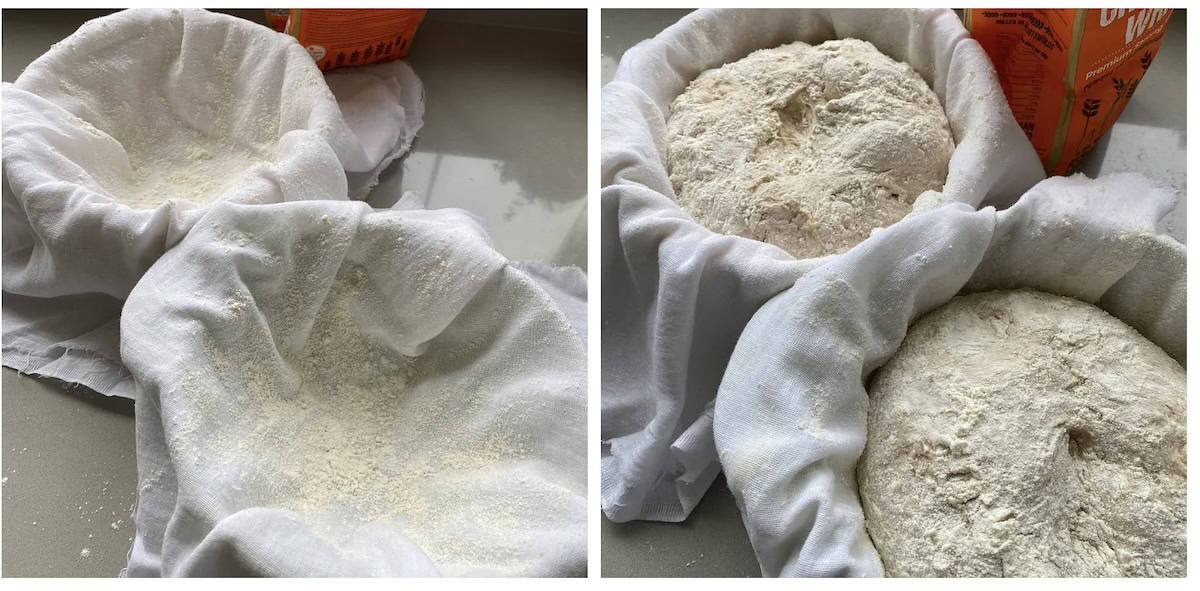
Once the banneton and mixing bowl are lined with muslin, I dust each one with plenty of flour. Trust me when I say that you don’t want your dough sticking to the muslin.
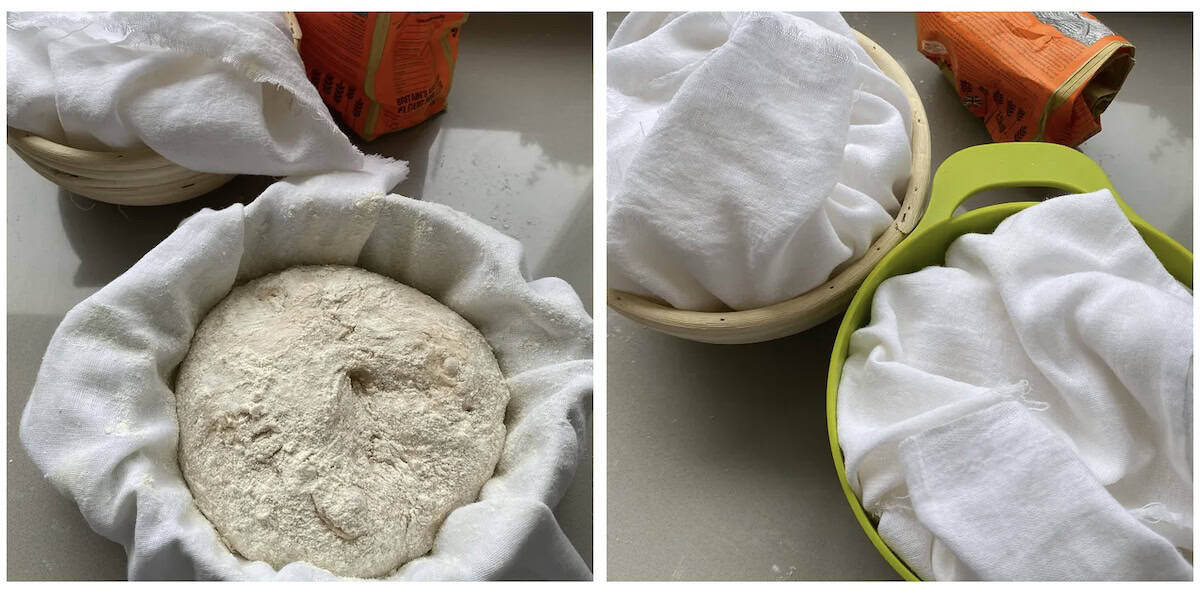
Prepare your sourdough according to your recipe and place it in the bowls. Before covering them with the muslin, add more flour on the top and sides of the dough. You will need to carefully pull the dough away from the sides of the muslin to do this.
Depending on how warm my kitchen is, I will either place the bowls in the fridge to proof them for a few more hours or leave them on the countertop.
When the Dough is Ready to Bake.
I always bake loaves in pie tins, greased and lined with baking parchment. This stops the dough from spreading and turning the loaves into frisbees.
Place the pie tin over the top of the bowl or Banneton with the risen dough, and carefully invert the dough into the tin.
When I first tried this method, I didn’t think I needed to line the tins. The result was the base of the loaf stuck at the bottom like super glue.
Lesson learned. Line the pie tins with baking parchment.
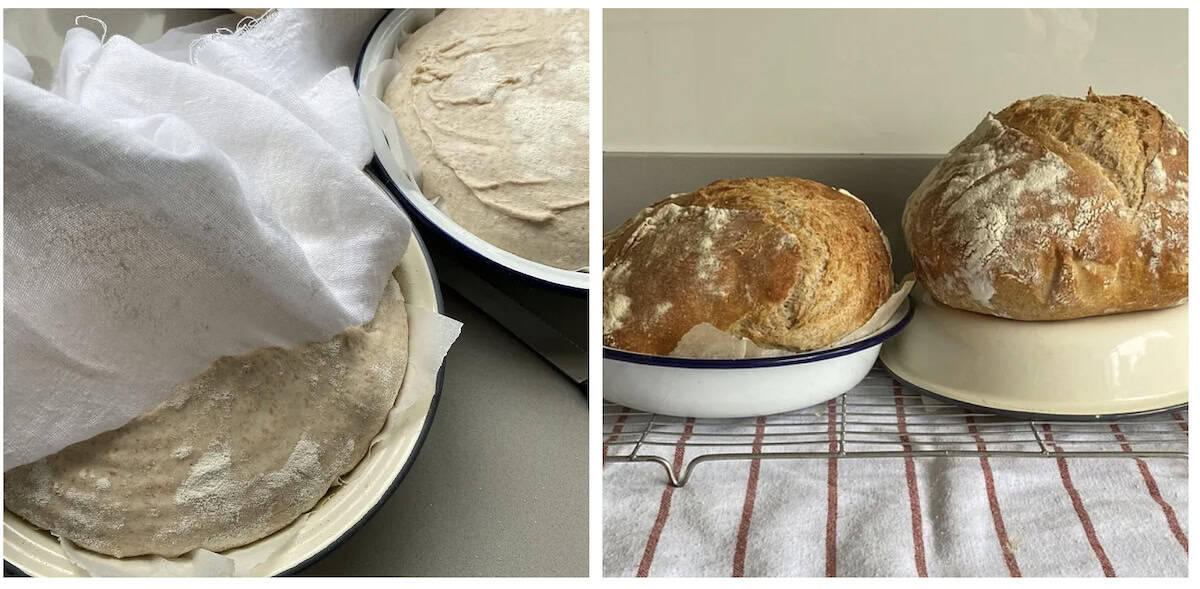
Carefully remove the muslin and score the top of the dough. I have yet to master the art of some decorative sourdough loaves, but a simple scoring across the top is fine for me. I find this helps the dough rise a little more.
My loaves are baked on the middle shelf in a 200-degree fan oven for 35 - 40 minutes and always test the middle of the loaf with a thermometer to check that it’s done. If it reads around 94 degrees, they are done. I can also tap the bottom for hollowness.
I hope these little tips help.
Storage
Tip: Slice the bread before you freeze it, so you can take out only what you need. Or you will need to wait at least a week for the whole loaf to thaw out. 🙂
Ask Ai to discover more ways to make your sourdough bread rise.


Comments
No Comments